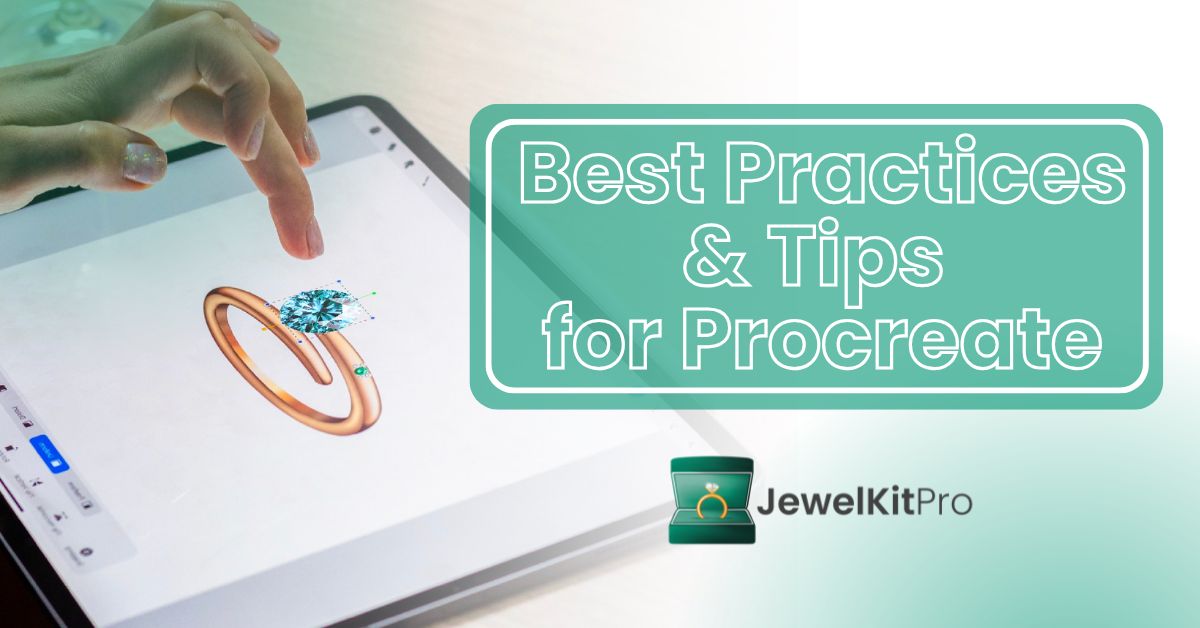
Procreate has become a go-to digital drawing tool for designers, artists, and illustrators worldwide, offering powerful features that combine the flexibility of traditional sketching with modern digital enhancements. Whether you’re a jewelry designer or an artist exploring new techniques, mastering Procreate’s best practices and shortcuts will boost your productivity and refine your workflow.
In this guide, we’ll cover essential tips, tricks, and best practices to help you design efficiently in Procreate while making the most of its powerful gesture shortcuts.
🎨 1. Mastering Gesture Shortcuts for Faster Design
Procreate offers intuitive gesture controls that can speed up your design workflow significantly. Here are some of the most useful shortcuts:
✅ Undo: Tap two fingers on the screen. (Double-tap to undo multiple steps!)
✅ Redo: Tap three fingers on the screen. (Great for quick fixes!)
✅ Quick Eyedropper: Hold one finger on the screen to activate the color picker.
✅ Erase with the Current Brush: Hold down the Erase tool, and it will match the brush you are using.
✅ Quick Selection Tool: Swipe three fingers down on the screen for a quick selection menu.
✅ Duplicate a Layer Quickly: Swipe left on the layer and tap ‘Duplicate.’
✅ Clear a Layer Instantly: Swipe three fingers left on the canvas.
✅ Hide UI for a Full-Screen View: Tap four fingers on the canvas to toggle between normal and full-screen modes.
🎯 Pro Tip: Learning these shortcuts early will help you work much faster, giving you more time to focus on the creative process!
Visit the Procreate Handbook for more details about the Gestures!
📐 2. Working with Layers Like a Pro
Layers are essential for organizing your design in Procreate. Here’s how to make the most of them:
🔹 Group Similar Layers: Select multiple layers and tap Group to keep your workspace tidy.
🔹 Use Alpha Lock: Swipe right with two fingers on a layer to enable Alpha Lock, which allows you to color or add textures without affecting the transparent areas.
🔹 Clipping Masks for Easy Adjustments: Instead of changing a layer directly, use a clipping mask for controlled shading and texturing, especially when applying a sanded or brushed texture to the metal.
🔹 Merge Layers Smartly: If your file is getting heavy, merge layers without flattening all your work to maintain flexibility.
🎯 Pro Tip: Name your layers properly if you’re working on a complex jewelry design, making it easier to locate elements quickly.
⚙️ 3. Use the Right Tools to Save Time Designing
Designing jewelry from scratch can be time-consuming, especially when refining intricate details like prongs, bezels, and settings. Instead of drawing every component manually, you can speed up your workflow by using JewelKitPro’s full library of customizable components.
💎 Why Use Ready-Made Components?
- Saves Time – Drag and drop high-quality, editable elements instead of sketching from scratch.
- Ensures Accuracy – Perfectly scaled and structured components for professional results.
- Boosts Creativity – Focus more on composition and unique details rather than redrawing basic structures.
This library contains 1257 customizable components ranging from:
💎3D rendered diamonds and gemstones
💎Gouache rendered diamonds and gemstones
💎 Settings like prongs, bezels and halos
💎 Ring Shanks
💎 Chains
💎 Findings like clasps, toggles, bails and jump rings
💎 Metal sheets and bars
💎 Charms like motifs, letters and numbers
💎 Virtual Try-On elements like an ear and hand simulations
🎯 Pro Tip: By using JewelKitPro’s component library, you can design faster, smarter, and with more precision—allowing you to focus on the creativity that truly makes your work unique!
📏 4. Scaling & Accuracy – Designing on Scale
Jewelry designers need to ensure accurate proportions when working on Procreate. Here’s how to keep your designs precise:
📐 Enable the Drawing Guide: Go to Actions > Canvas > Drawing Guide, then adjust the grid for precise measurements.
📏 Use Reference Images: Import reference images into a separate layer for scale accuracy.
🔍 Zoom In & Out with Pinch Gestures: This helps refine intricate details in small jewelry components.
🎯 Pro Tip: If you’re working on real-world jewelry production, use measured templates for ring sizes and bracelet dimensions.
Check our Crash Course on Designing on scale!
🖼️ 5. Exporting & Sharing Your Work
Once your design is complete, exporting in the right format is crucial.
✅ For Clients & Sharing: Export as PNG for high-quality previews.
✅ For Print or Laser Cutting: Export as PDF or TIFF for professional output.
✅ For Layered Editing: Save as a Procreate (.procreate) file to retain all layers.
✅ For Animations: Use MP4 or GIF if you’ve created a process video or time-lapse.
🎯 Pro Tip: Always keep a backup file before merging layers or making final edits!
🚀 Final Thoughts
Designing in Procreate is a game-changer for jewelry designers, allowing for quick concept sketching, detailed rendering, and professional presentation of ideas. By mastering gesture shortcuts, layering techniques, and scaling tools, you can create high-quality jewelry designs effortlessly.
💬 What’s your favorite Procreate shortcut? Share it in the comments below!
